


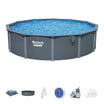


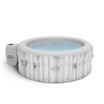

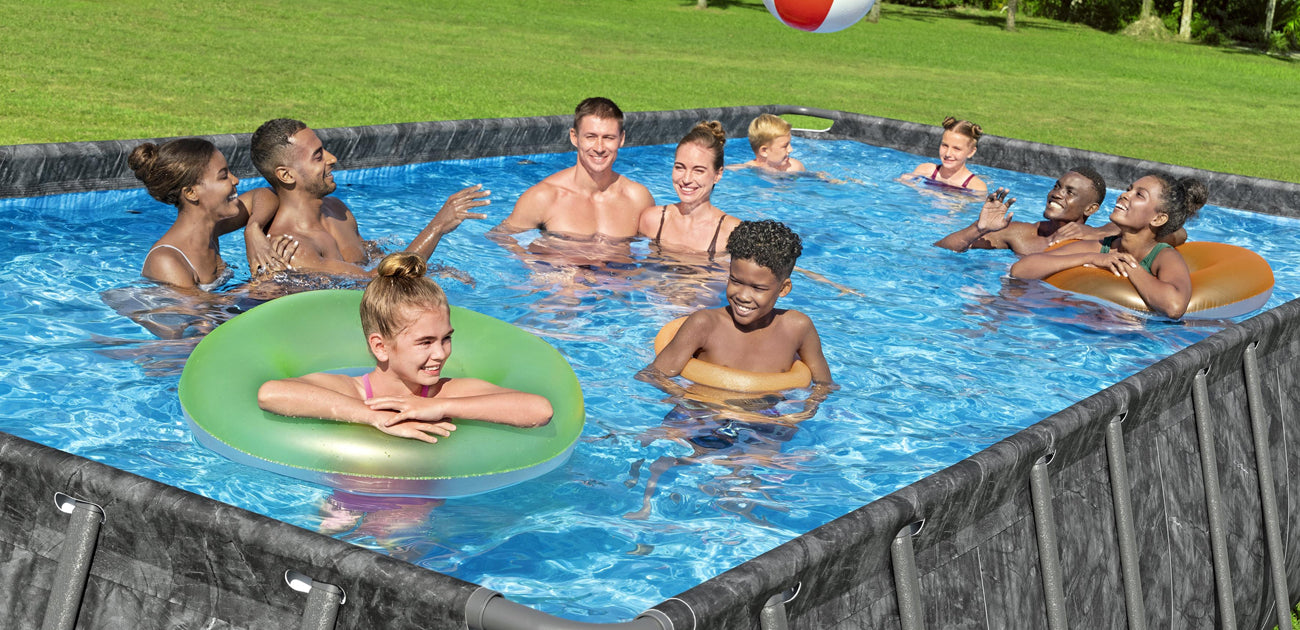
The all-season Bestway APX 365™ pools are designed to endure all kinds of weather conditions. Follow this setting up guide to have your pool up and running in next to no time.
Step 1: Get the ground ready for your Bestway all-season APX 365 pool
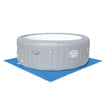
Choose a flat area of the garden, and if you're going on a patio or decking, make sure that it can support the weight of a filled pool.
Make sure the surface is level, as uneven ground will have the water pressing up against one side of the pool. This could eventually lead to all kinds of trouble.
Remove any sharp objects like stones or branches that might puncture the liner. Once the area is prepped, you're ready to begin assembly.
Ideally your pool's location should be within 4 metres of an outdoor electrical socket (don't use an extension) and close to suitable drainage.
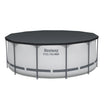
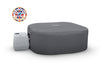
Step 2: Check your Bestway APX 356 pool items in the box
Before starting to assemble your Bestway pool, its a good idea to check that you have all the right parts and are not missing anything.
-
Check all items against the components list in the manual to ensure everything is included.
-
Unfold and lay out the pool liner, positioning the filter pump connections (labelled A and B) near the outlet.
-
Lay out all parts of the steel frame.
-
Insert caps into the inlet and outlet valves (or close the connection valves, if provided) to prevent leaks during filling.
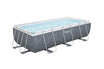
Step 3: Setting up the Bestway APX 365 swimming pool
- Insert the horizontal bars into the slots on the top of the liner, following the sequence indicated in the instruction manual.
- Connect the bars to each other, using the “C” shaped connectors.
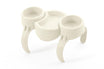
- Insert the U-shaped side supports into the appropriate bands, welded to the bottom of the liner.
- Insert the ends of the U-brackets into the holes in the top bars.
In this video, you can follow step by step the assembly of a rectangular APX
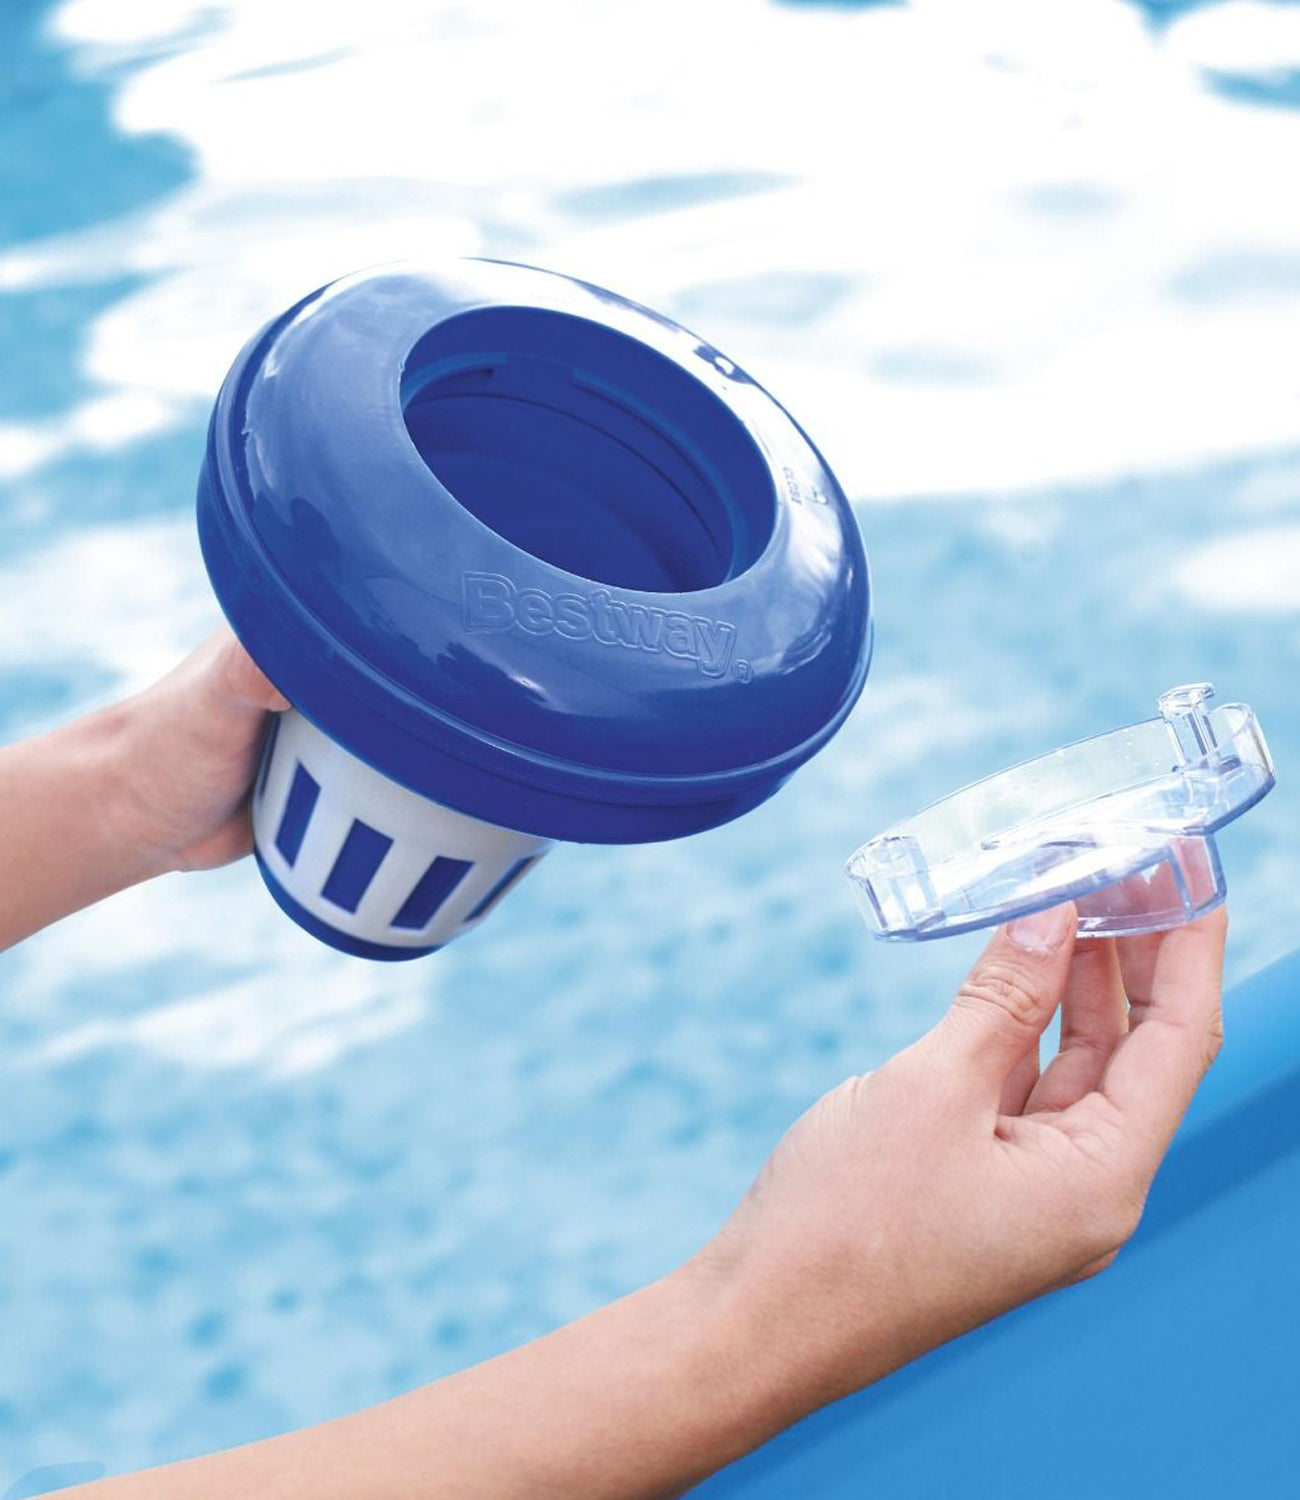
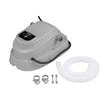
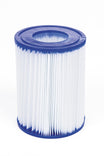
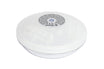
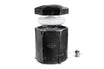
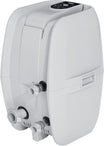
Step 4: Set up the APX 365 pool's filter system

