


Whatever Bestway pool you have, follow these useful tips for setting up your above-ground pool quickly and efficiently.
- Start by choosing the perfect location - flat and level
- Check your pool and all the components
- Refer to your manual or our online videos
Once you have all three of these above, you're ready to install your Bestway pool.
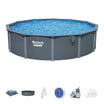
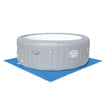
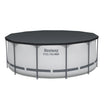
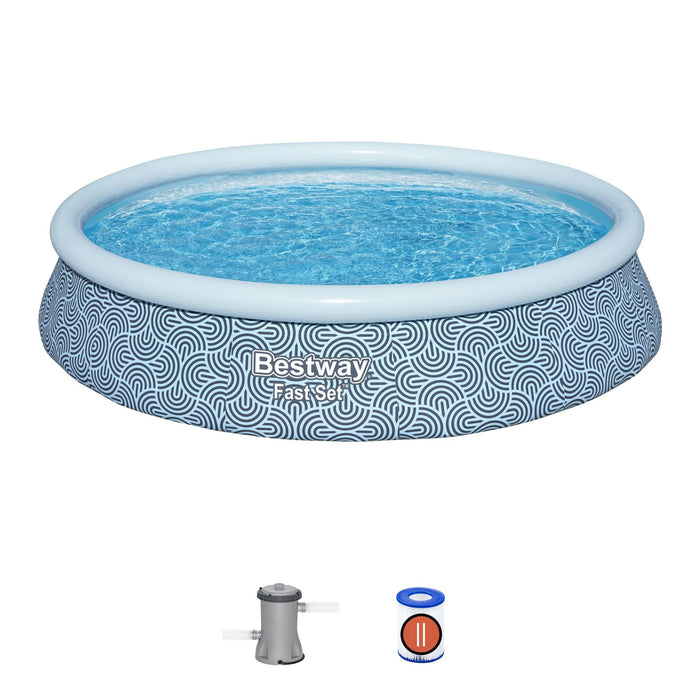
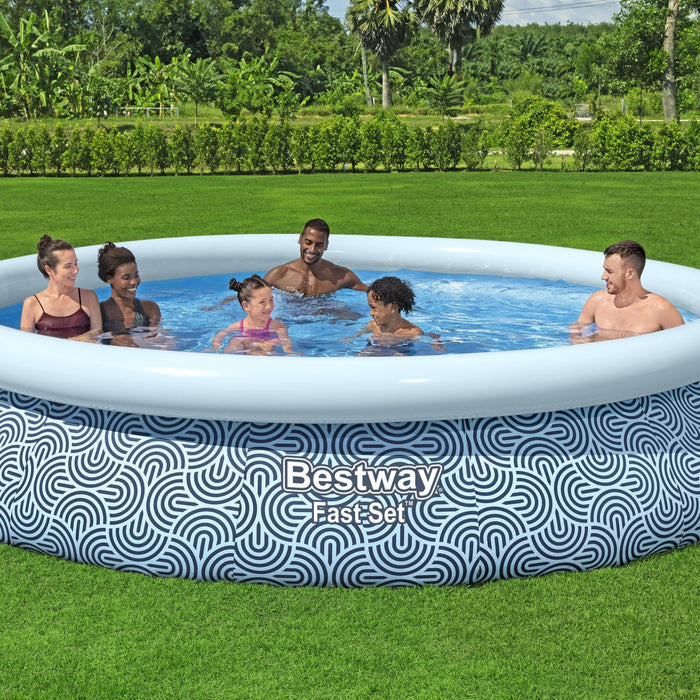
Fast Set™ Pool

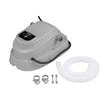
- Prepare the Pool: Lay out the pool on the ground. If your pool comes with a filter pump, ensure it can be plugged into a nearby power outlet.
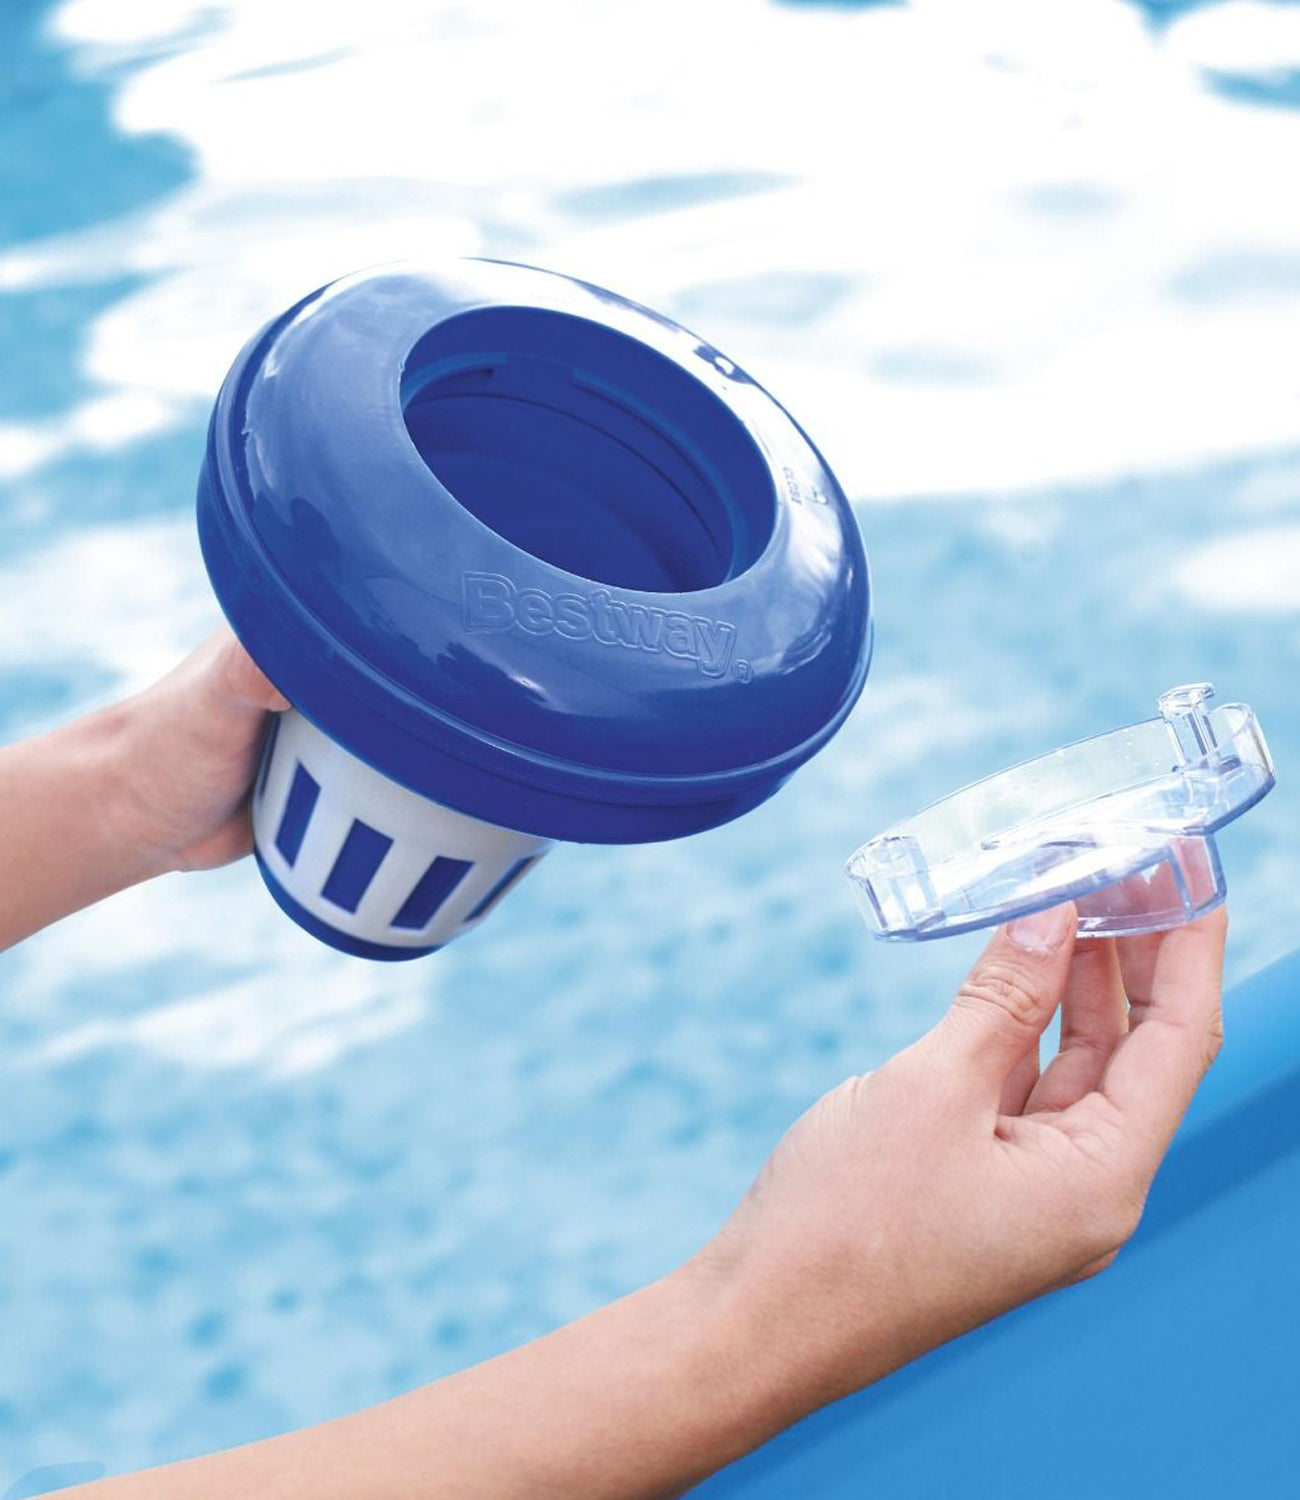
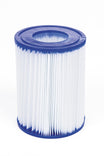
- Check Valves: Ensure the drain valve cap is in place, and that caps are fitted into the connection valves marked “A” and “B.”
- Inflate the Top Ring: Use an electric pump to inflate the top ring. Avoid over-inflating to prevent deformation or damage. To extend the ring's lifespan, minimise the number of times you inflate it throughout the season. If it softens, wait until sunset to inflate it until firm.
- Start Filling with Water: After inflating the top ring, begin filling the pool. Add a small amount of water to cover the bottom, then smooth out any wrinkles in the liner.
- Fill Completely: Continue filling the pool. The top rim will rise automatically as the water level increases.
- Connect the Filtration Pump: If your pool has a cartridge filtration pump, attach it to the “A” and “B” valves on the pool walls using the pipes provided.
- Click here for more info and videos


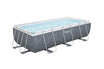
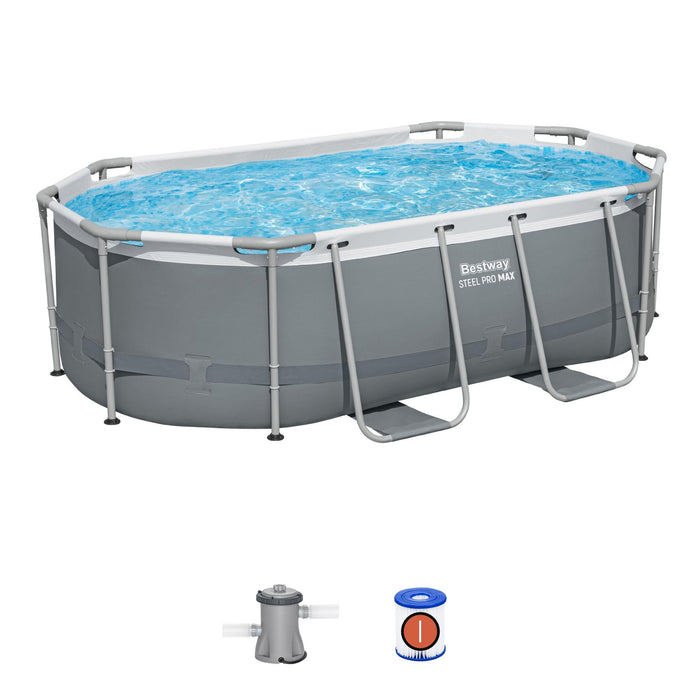
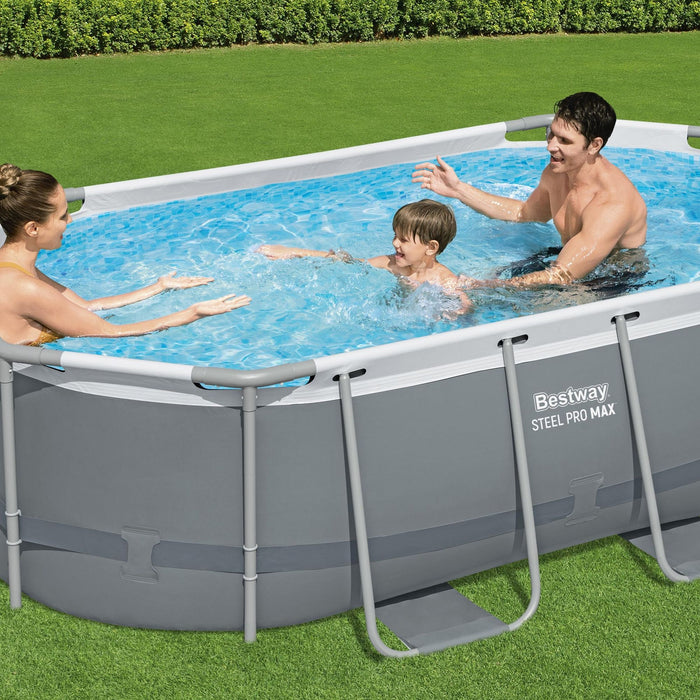
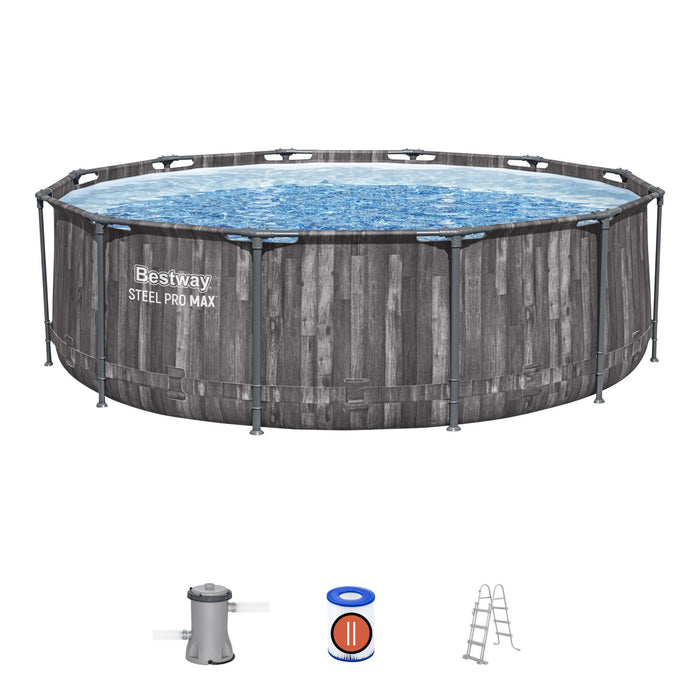
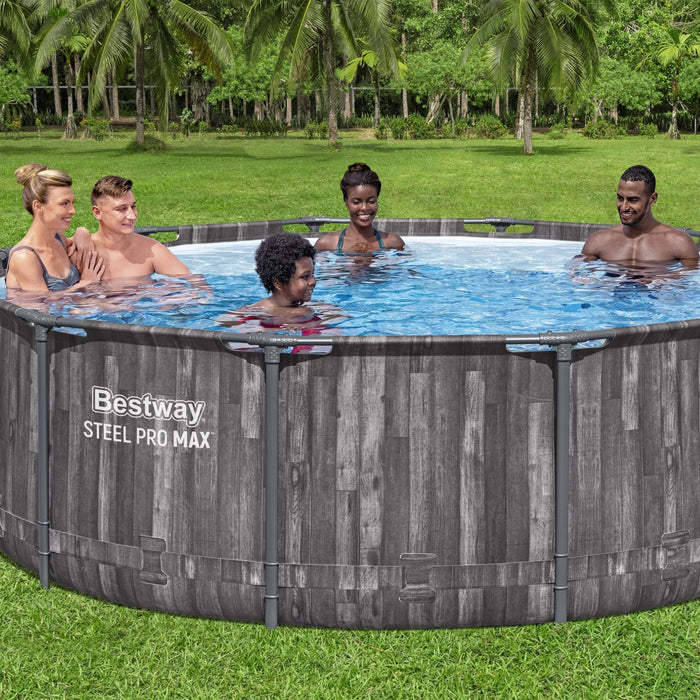
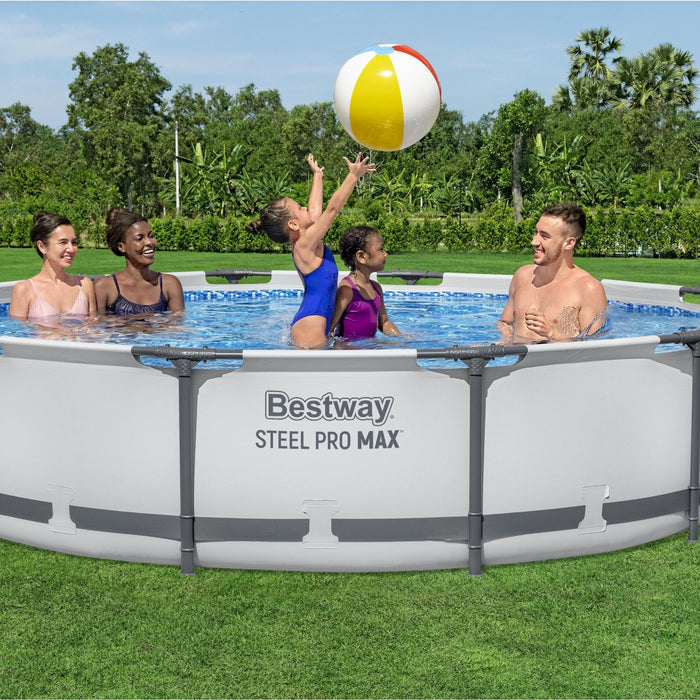
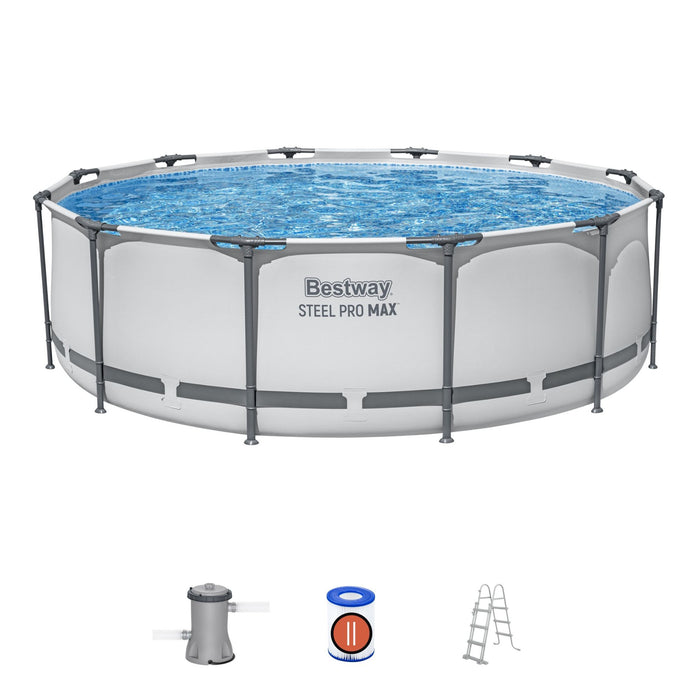
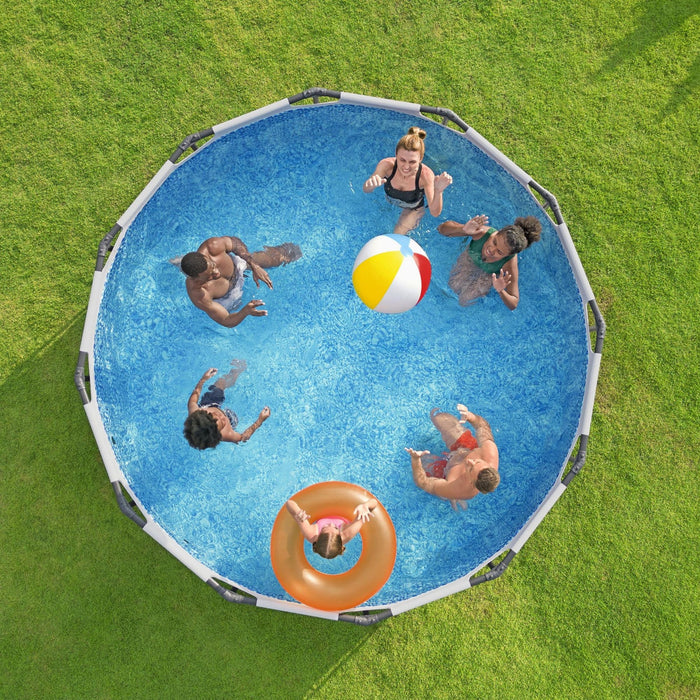
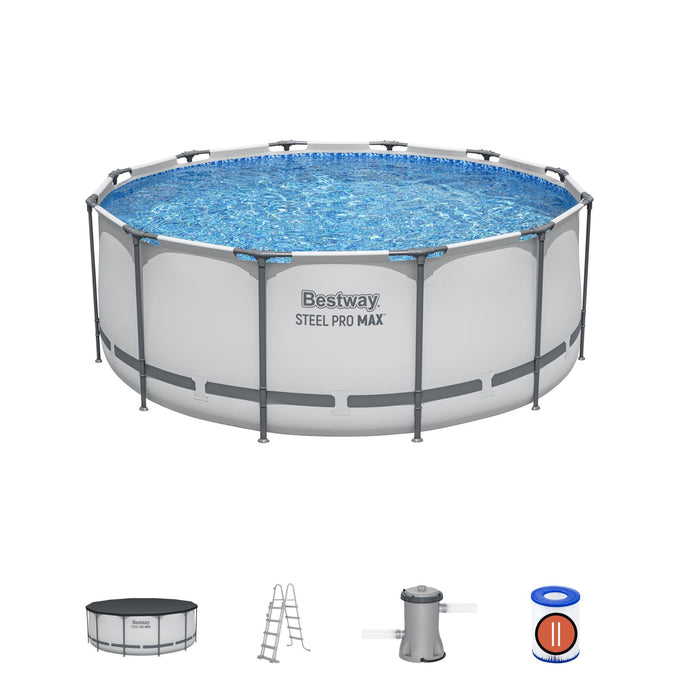
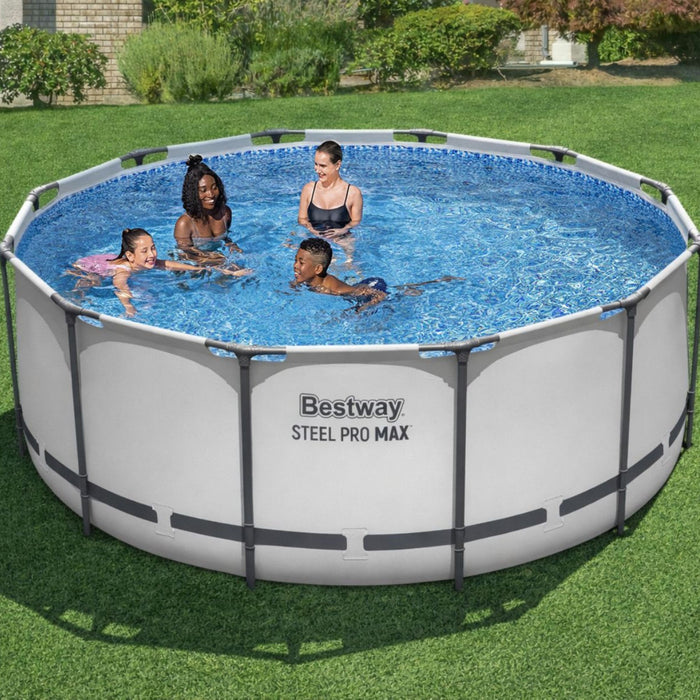
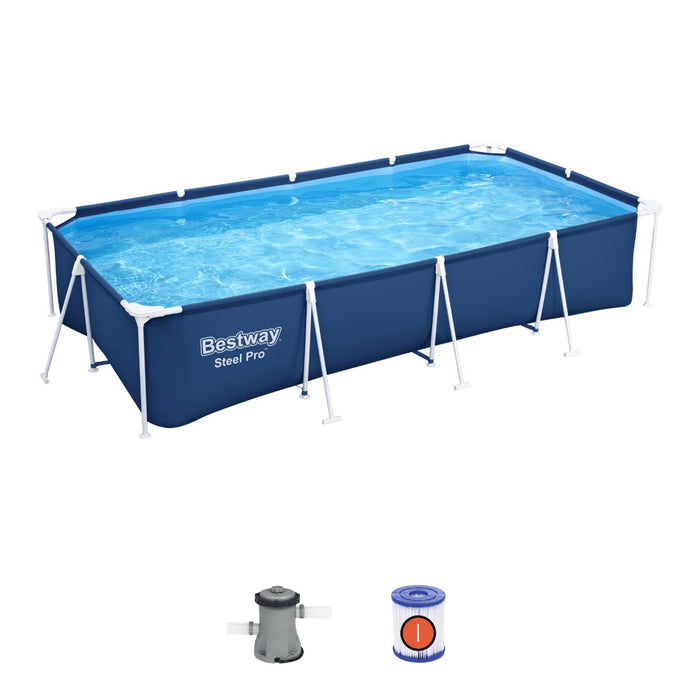
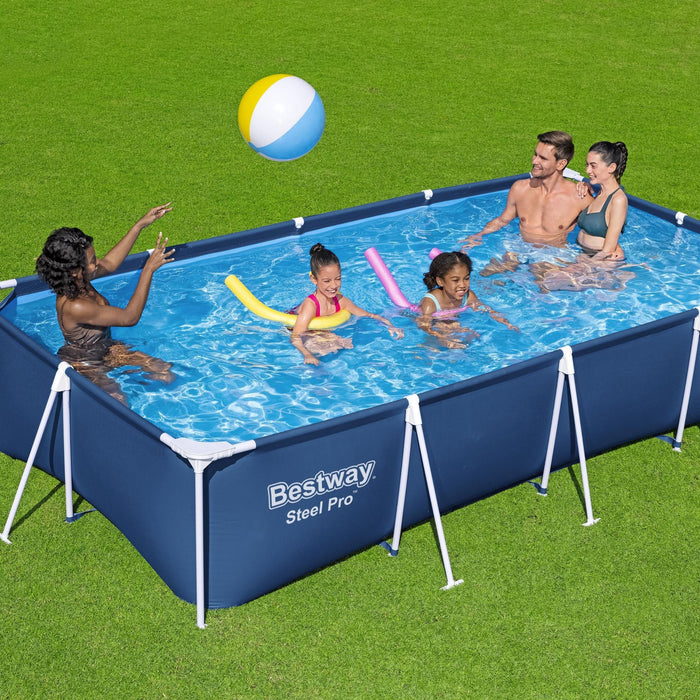
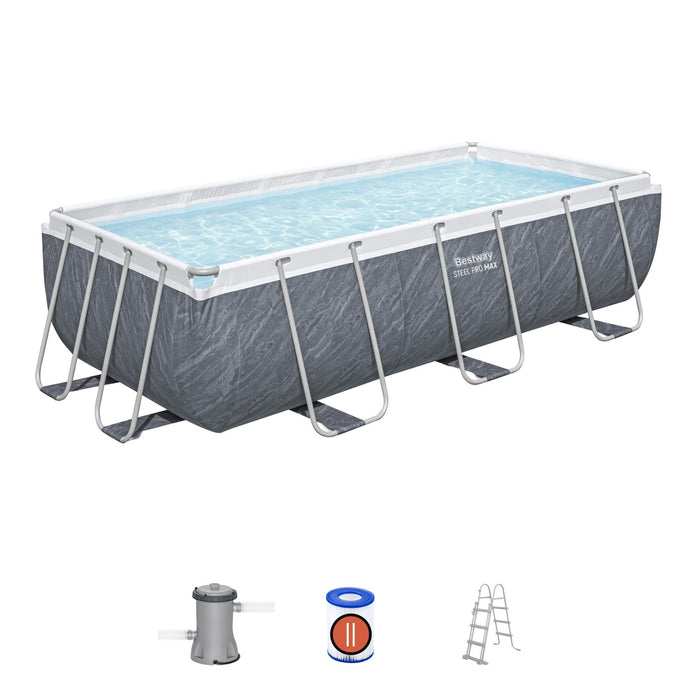
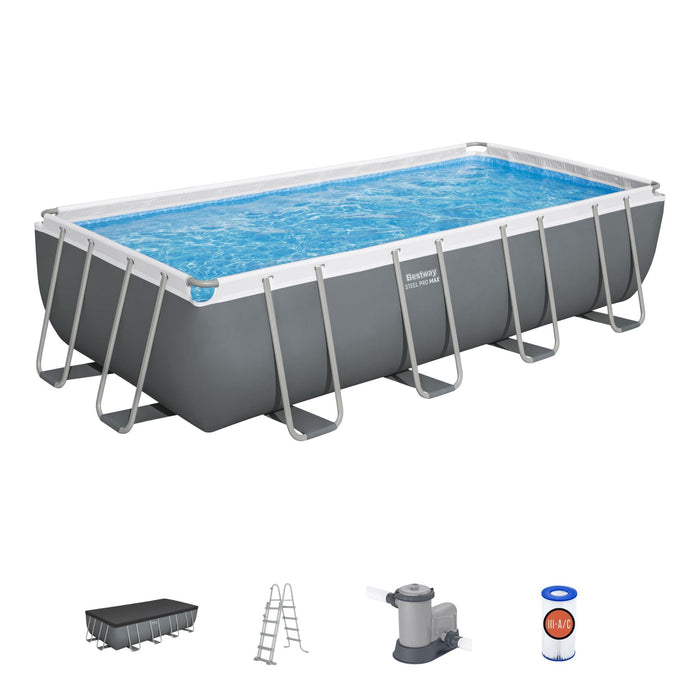
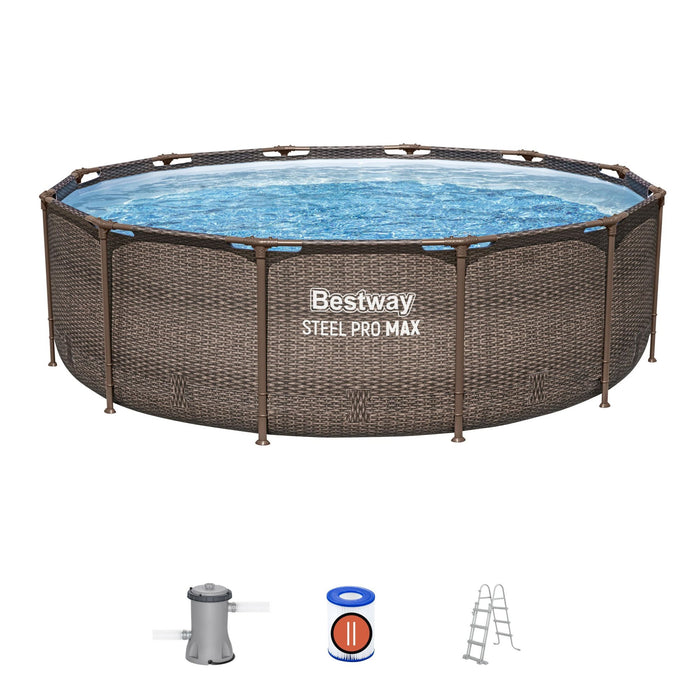
Steel Pro™ & Pro Max™ Pool

- Prepare the Pool: Spread the pool out on the ground. If it has a filter pump, check that it can be plugged into a power outlet.
- Check the Valves: Confirm the drain valve cap is properly installed, and the inlet and outlet valve caps are secured.
- Assemble the Frame: Insert the upper bars into the designated slots, connecting them with the "T"-shaped connectors.
- Add Vertical Bars: Place the vertical bars between the liner and the wall strip and connect them to the "T"-shaped connectors.
- Connect the Filtration Pump: If your pool has a filter pump, connect it to the valves on the pool wall labelled “A” and “B”. For further details, refer to the pumps instruction manual.
- Click here for more info and videos


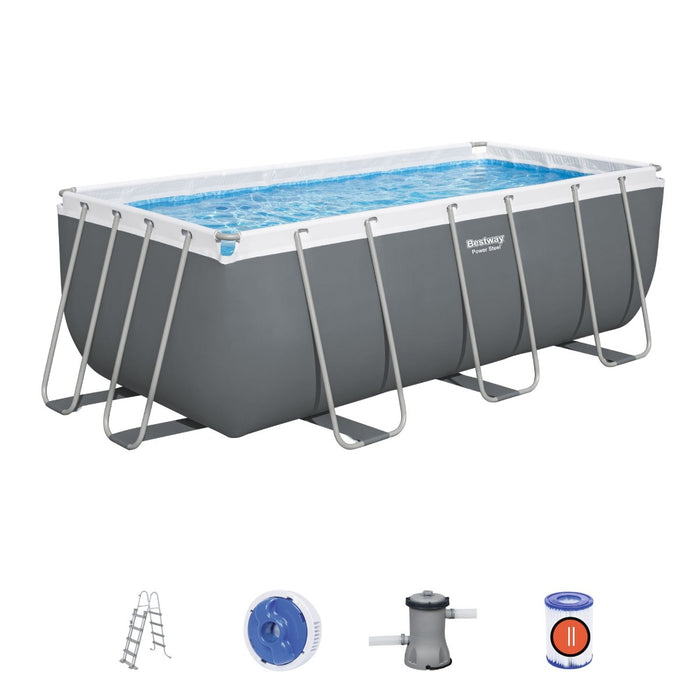


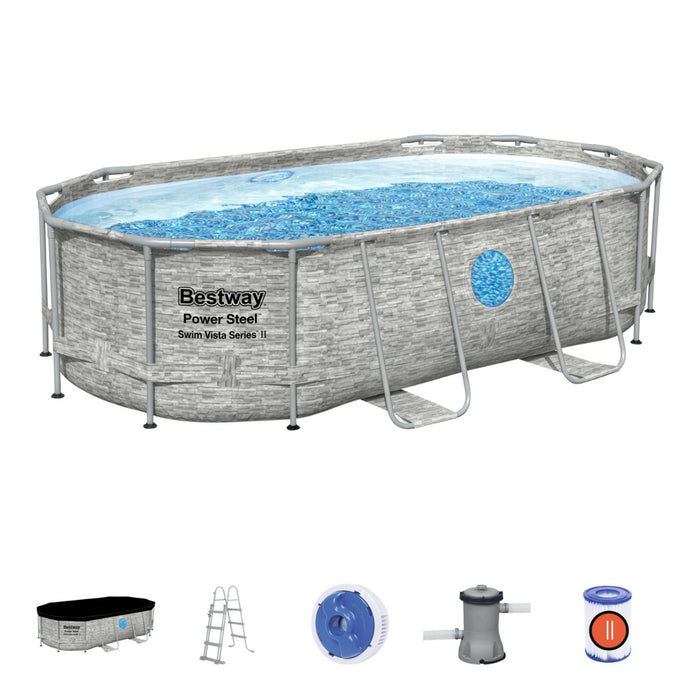
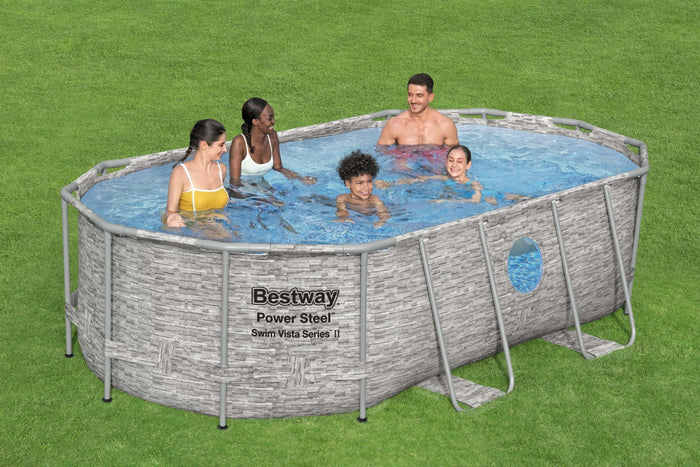
Power Steel™ & Power Steel Swim Vista™ Pool

- Prepare the Pool: Lay the pool out on the ground, ensuring the filter pump can be connected to a nearby power outlet.
- Check the Valves: Ensure the drain valve cap is securely in place, and the inlet and outlet valve caps are fitted.
- Assemble the Frame: Insert the upper bars into the slots of the liner, connecting them with the "T"-shaped connectors.
- Add Vertical Bars: Place the vertical bars between the liner and the wall strip and insert them into the "T"-shaped connectors.
- Insert U-shaped Brackets: Place the U-shaped brackets in the liner, then fit them into the holes in the upper bars.
- Connect the Filtration System: If your pool is equipped with a cartridge or sand filtration system, connect it to the pool’s connection valves, indicated by the letters “A” and “B”.
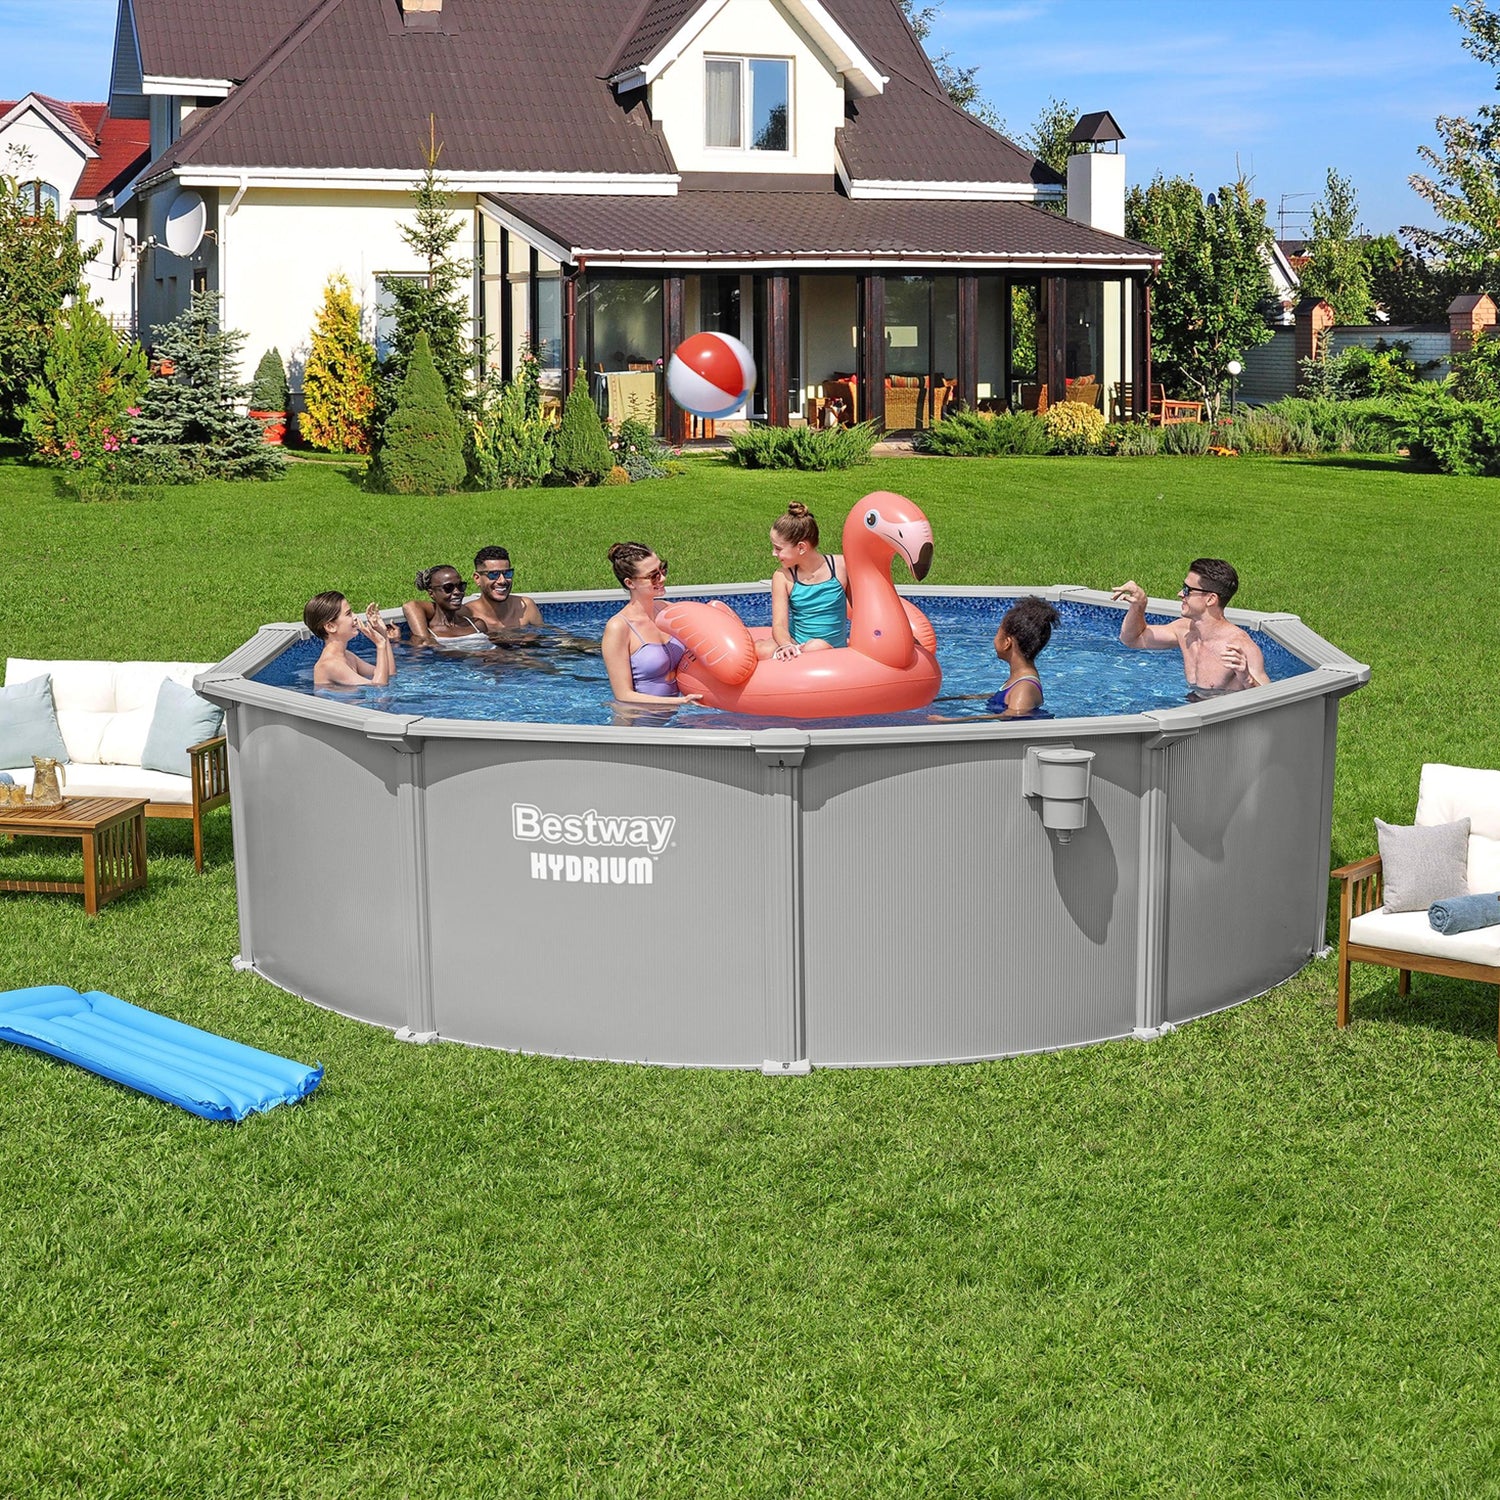
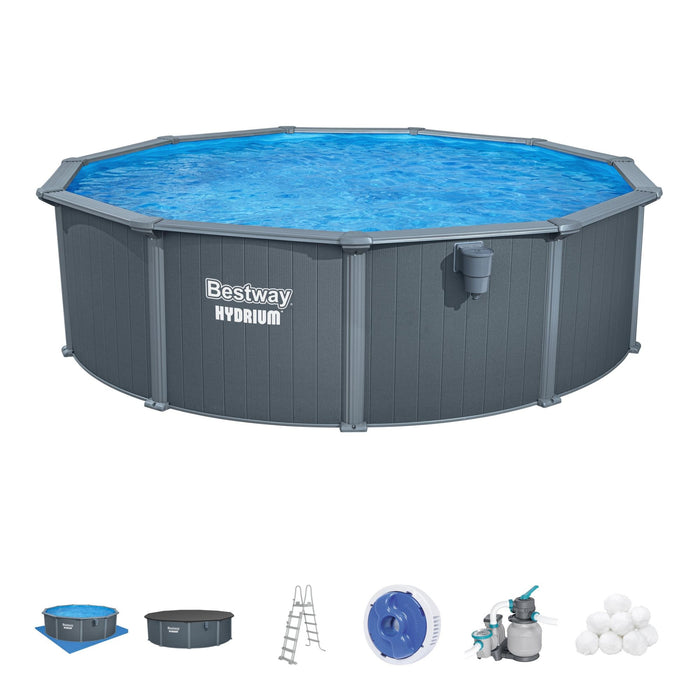
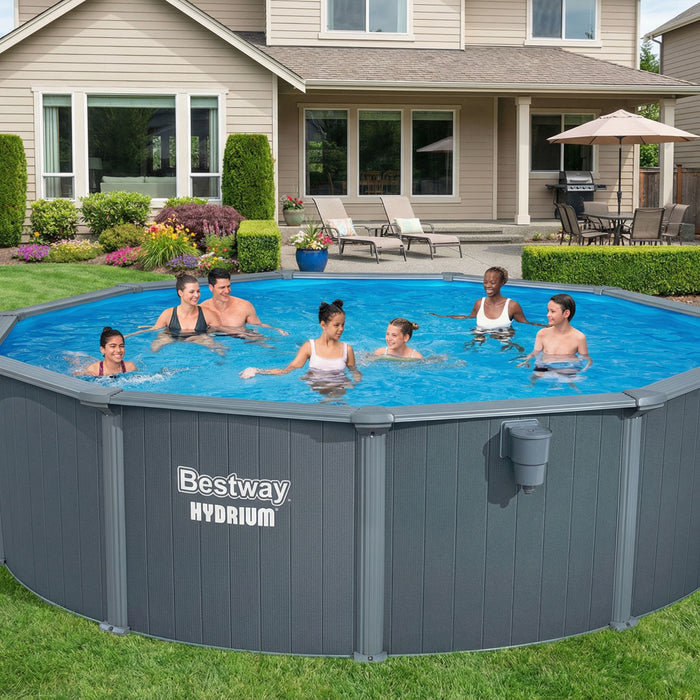
Hydrium™ Above Ground Pool

- Assemble the Base: For round pools, connect the bottom rails to form a circle. For oval pools, start by assembling the side supports, then connect the bottom rails.
-
Reinforce the Base: Place metal pieces under the rails at each joint.
Install the Wall: Slide the wall into the rail slots until you complete the circle or oval. - Connect Wall Ends: Align the holes at the wall ends, insert the screws, and secure the bolts from the outside.
- Install the Liner: Place the liner inside the pool along the walls and secure it with clamps.
- Add Rails and Supports: Install the top rails above the liner, aligning the metal pieces with those at the bottom, then screw on the top platforms and vertical supports.
- Begin Filling with Water: Add a small amount of water to cover the bottom, then smooth out any wrinkles.
- Connect the Filtration Pump: Attach the filtration pump to the “A” and “B” valves.
- Click here for more info and videos


